
How to Prepare for and Fit a Dental Crown

A crown’s success depends on more than what happens in the dental chair; caring for it afterwards matters too. Treatment typically involves two visits: the dentist prepares the tooth and fits a temporary crown, then places the permanent crown when it’s ready. This guide walks you through the dental crown procedure step by step, including why a crown may be recommended for a damaged or weakened tooth.
It’s understandable to want to know what each appointment involves and how a crown will feel once it’s fitted. Knowing what to expect can make the process more manageable, from preparing the tooth and choosing a material to checking the final fit.
You’ll also learn how to care for a temporary crown, protect the permanent one with everyday habits, and when to seek advice about discomfort or a change in your bite. Knowing the stages can help you feel prepared to discuss your treatment and aftercare with your dentist.
Table of Contents
Fitting and cementing the permanent crown
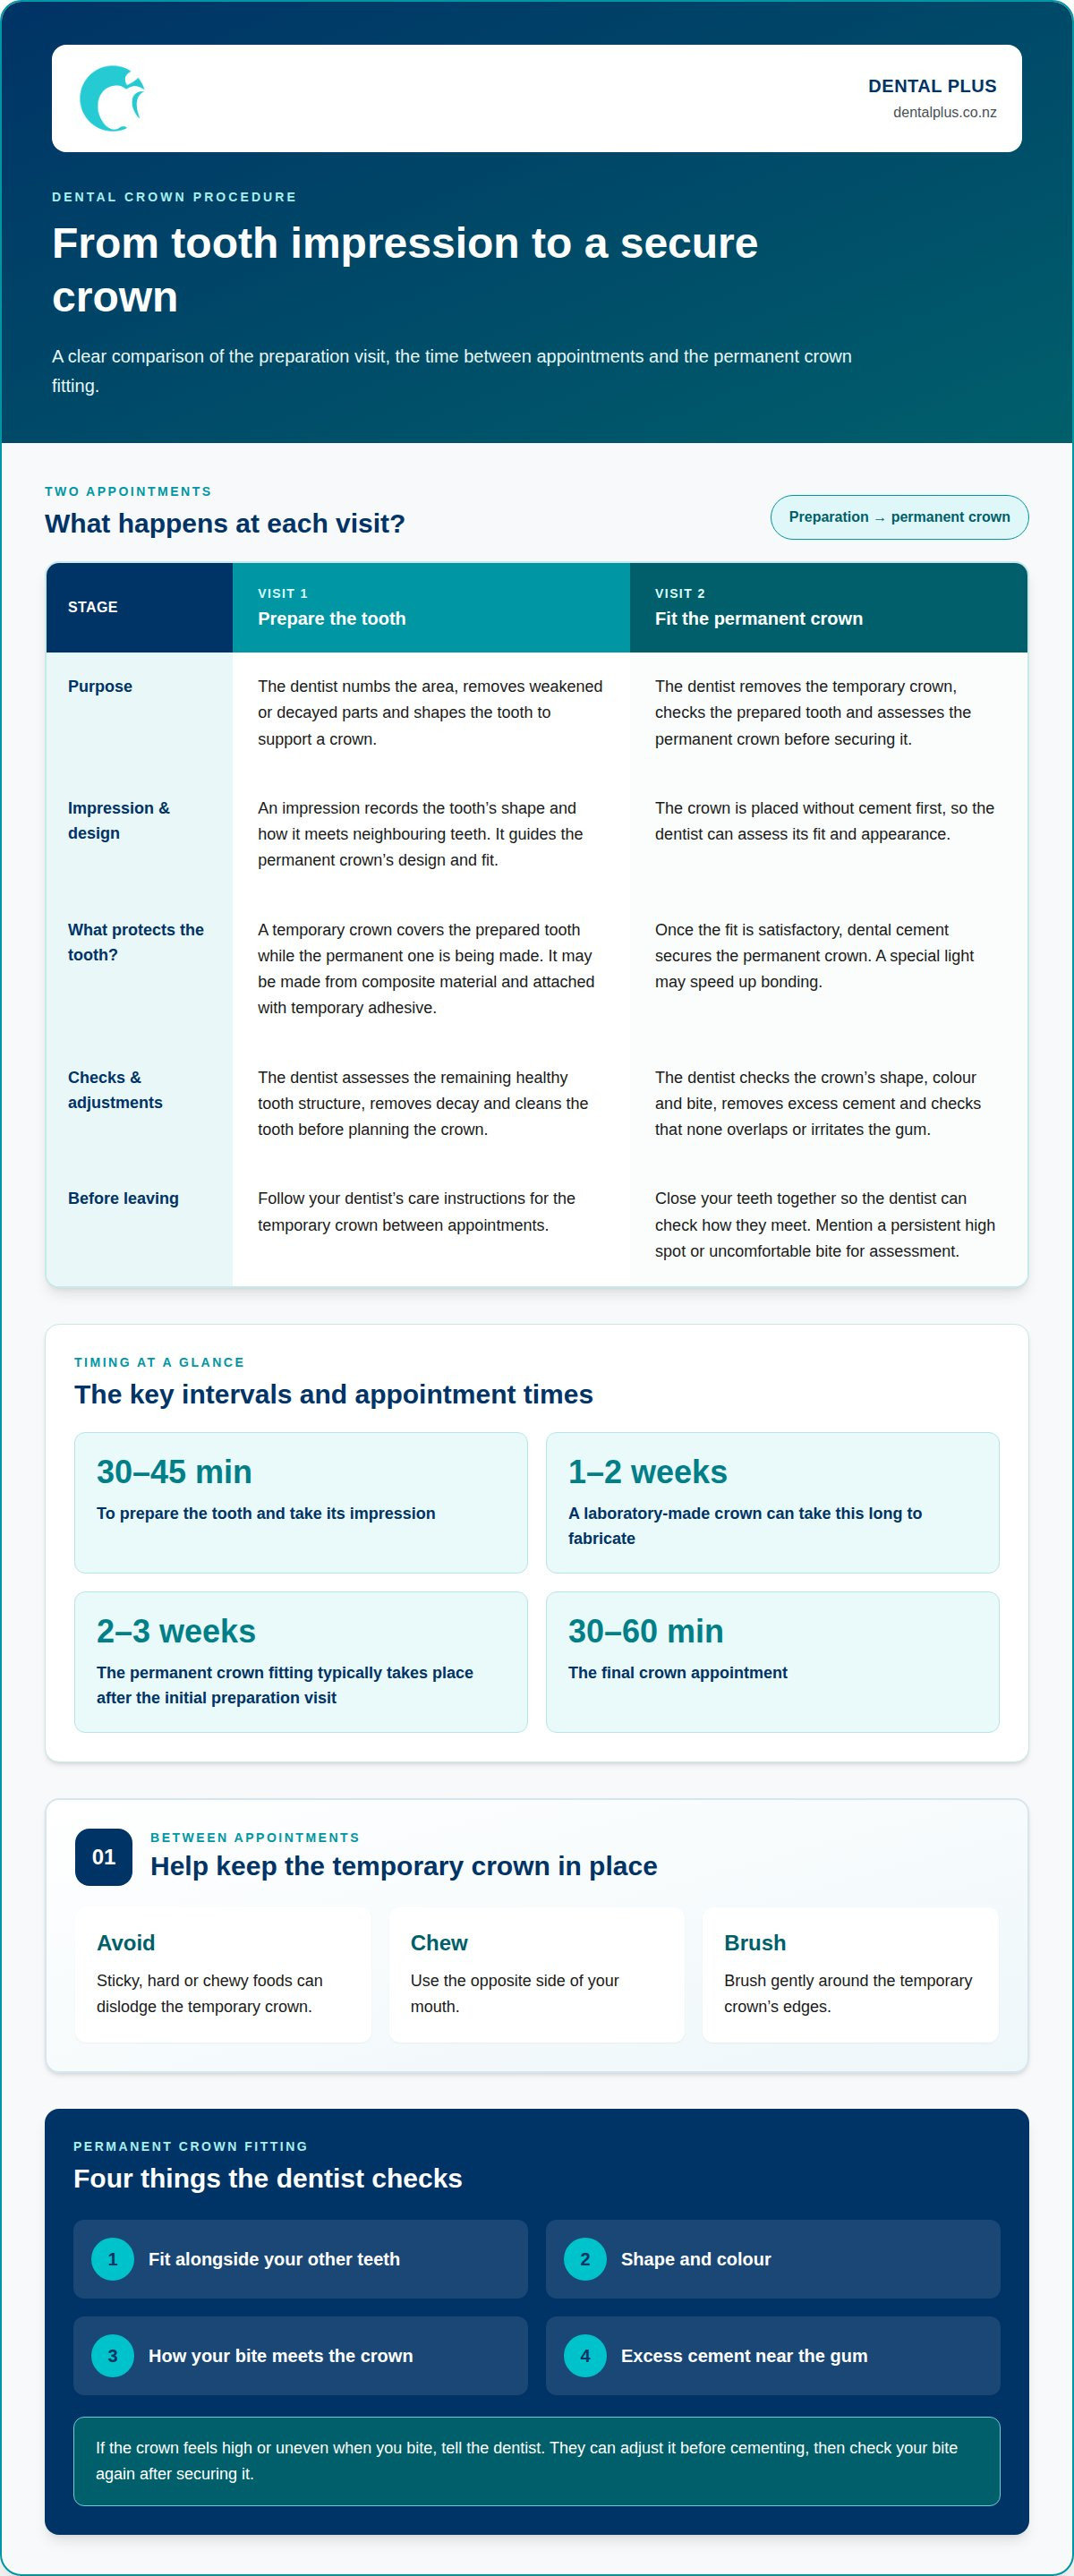
The crown procedure usually reaches its final stage at a second appointment. The dentist checks the permanent crown’s fit before securing it with dental cement.
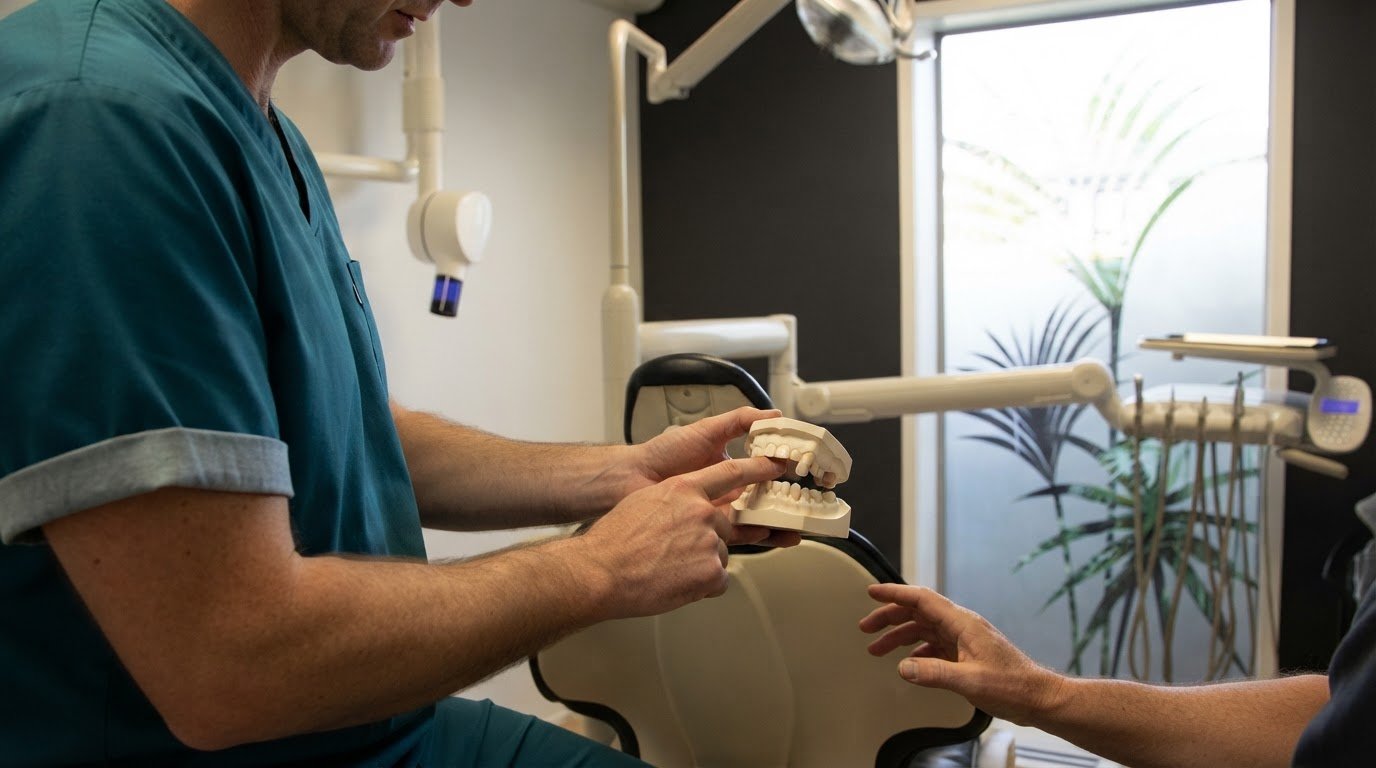
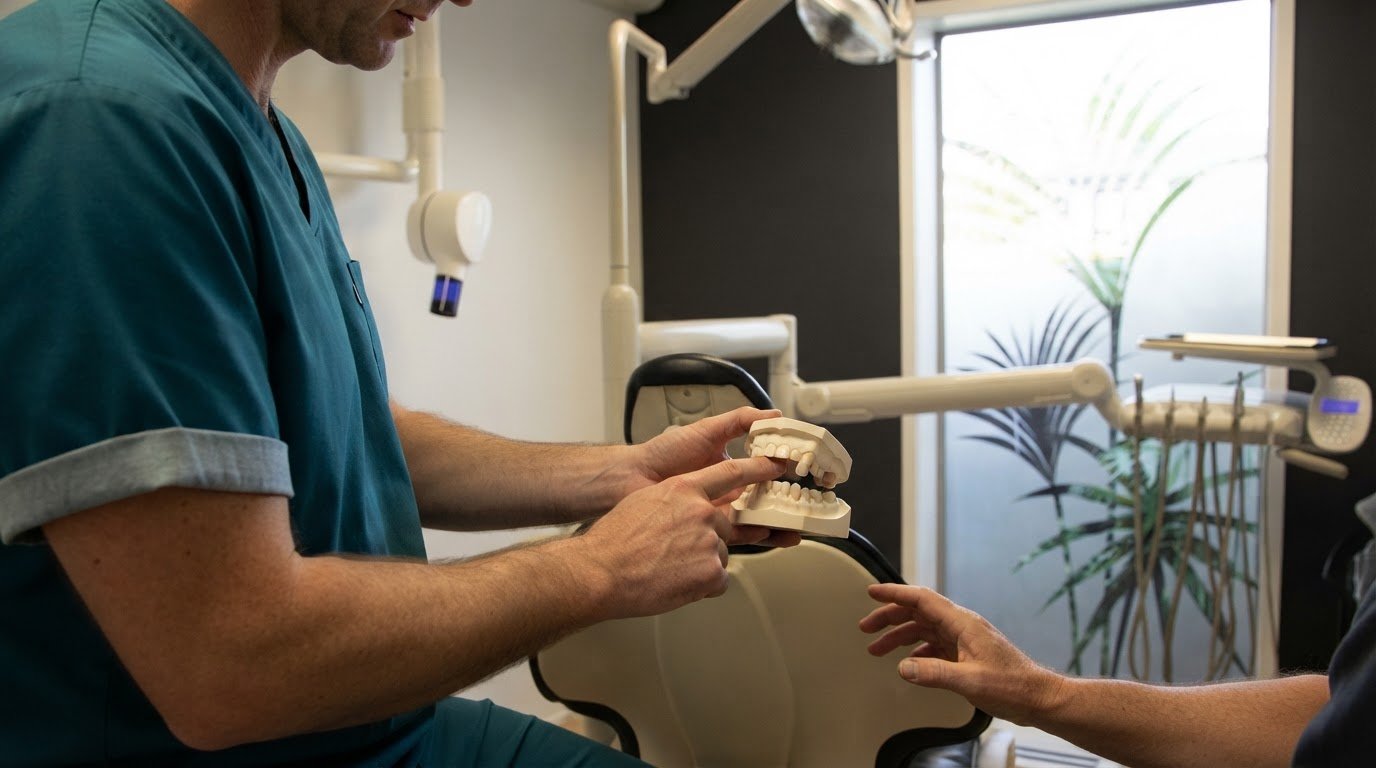
Take an impression of the prepared tooth. At the preparation visit, the dentist records the tooth’s shape and how it meets neighbouring teeth. This impression guides the permanent crown’s design, helping it fit the prepared tooth and work with your bite. The dentist also fits a temporary crown while the permanent one is being made. A laboratory-made crown can take 1-2 weeks to fabricate.
Protect the tooth with a temporary crown. A temporary crown covers the prepared tooth between appointments. It may be made from composite material and attached with temporary adhesive. Follow your dentist’s care instructions, as sticky, hard or chewy foods can dislodge it. Chew on the opposite side and brush gently around its edges to help keep it in place.
Return for the permanent crown fitting. The final placement appointment typically takes place 2-3 weeks after the initial preparation visit. At this second appointment, the dentist removes the temporary crown and checks the prepared tooth. The dentist then places the permanent crown without cement first, so its fit and appearance can be assessed before it is secured.
Assess the fit, shape, colour and bite. The dentist checks that the crown sits comfortably alongside your other teeth and follows the shape of your bite. Colour also matters, especially for a crown visible when you smile. If it feels high or uneven when you bite, the dentist can adjust it before cementing it.
Secure the crown with dental cement. Once the fit is satisfactory, the dentist uses cement to secure the permanent crown. A special light may speed up the bonding process. The dentist removes excess cement and checks that none overlaps or irritates the gum. This helps the crown sit cleanly against the tooth.
Check your bite again before leaving. The dentist asks you to close your teeth together and checks how they meet the crown. If the pressure feels uneven, further adjustments can improve the contact. Tell the dentist if you notice a persistent high spot or uncomfortable bite so they can assess the fit.
Local anaesthesia and tooth preparation
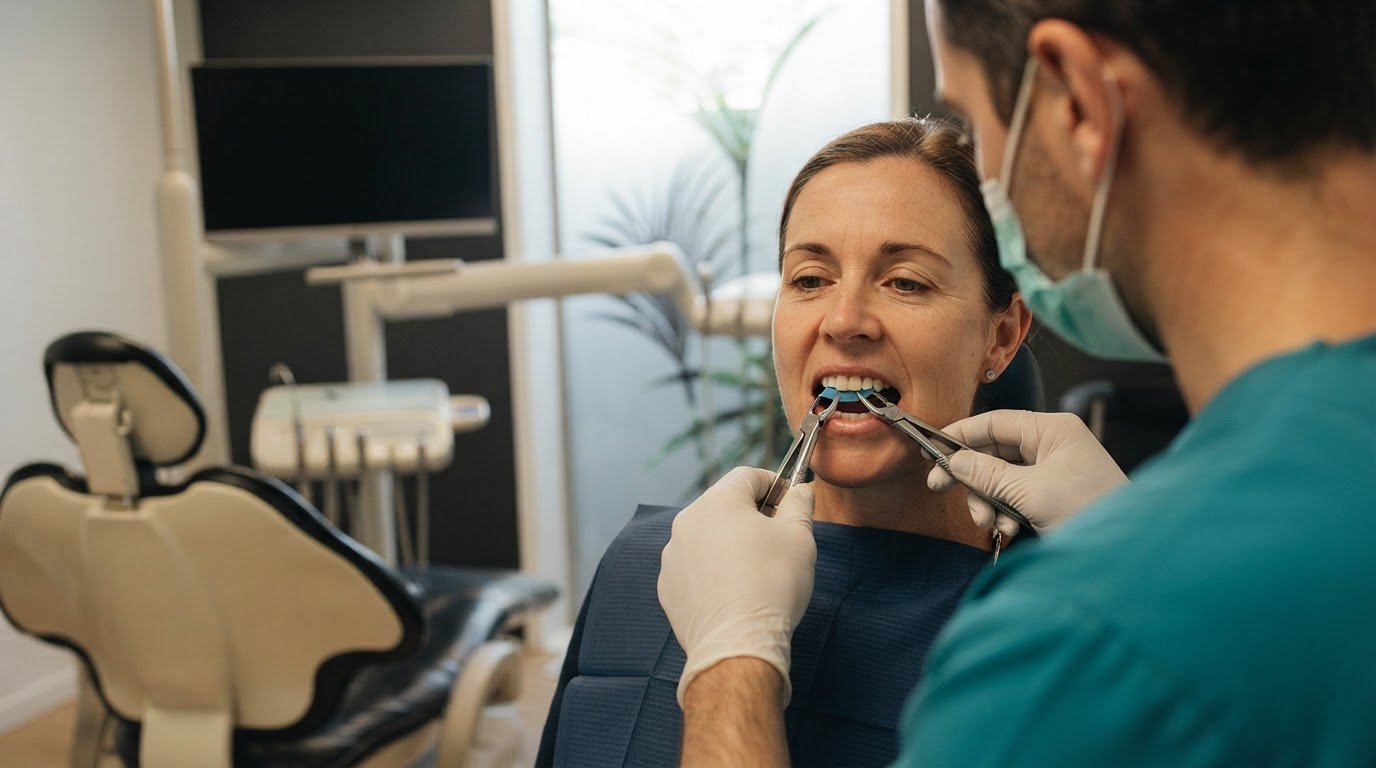
At the preparation appointment, the dentist numbs the area, removes damaged tooth structure and shapes the tooth to support a crown. The extent of decay or damage guides each step.
Identify why the tooth needs protection. A dentist may recommend a crown for a decayed, cracked or weakened tooth, or one that has had root canal treatment. The crown covers the tooth to restore its strength, shape and appearance. Before preparing it, the dentist assesses the remaining healthy structure, which affects how well it can support a crown.
How your dentist numbs the toothTell your dentist about your comfort needs before preparation begins. Local anaesthesia numbs the tooth and surrounding area while the dentist removes weakened or decayed parts. Treatment proceeds once the area is numb. If you feel discomfort during preparation, let the dentist know so they can respond before continuing.
How your dentist prepares and rebuilds the toothAllow the dentist to remove decayed or weakened areas and shape the remaining tooth. Preparing a tooth for a crown typically involves removing approximately 1-2 millimetres of tooth structure around it and from its chewing surface. If the tooth needs added support, the dentist may rebuild its shape with filling material. This creates a more suitable base for the crown.
Have the prepared tooth assessed before the crown is planned. The dentist checks the remaining structure, removes decay and cleans the tooth. If decay is severe or the tooth is infected, root canal treatment may be needed before a crown is placed. Addressing the underlying problem first helps treat the tooth’s condition before restoration.
Allow time for shaping and recording the tooth. Preparing the tooth and taking its impression takes about 30-45 minutes. The dentist shapes the tooth so the crown can fit over it, then records its contours. That impression helps guide the crown’s design, including the way it meets nearby teeth when you bite.
Discuss the preparation plan before treatment starts. Ask the dentist to explain which areas need removal and whether rebuilding with filling material is part of the plan. The decision depends on how much sound tooth structure remains and whether decay needs treatment. A crown assessment can help clarify the preparation steps for your tooth.
What Is a Dental Crown and Why Might You Need One?
A dental crown is a cap placed over a tooth to restore its strength, shape and appearance. Treatment typically involves two visits; the final crown appointment takes 30-60 minutes. Possible complications include a temporary crown becoming dislodged, or mild soreness and biting sensitivity during the first 24-48 hours.
Understand why the tooth needs a crown. A dentist may recommend a crown for a decayed, cracked or weakened tooth, or one that has had root canal treatment. The crown covers the tooth, helping support its structure and preserve the natural tooth. The extent of damage and the remaining healthy structure inform the treatment plan.
Know what the temporary crown protects. After preparing the tooth, the dentist places a temporary crown over it while the permanent crown is made. This covering protects the prepared tooth and exposed dentin between appointments. Temporary crowns are usually made from acrylic or composite material and attached with temporary adhesive.
Follow the care instructions for the temporary crown. Avoid sticky, hard or chewy foods while wearing it, as they can dislodge the temporary crown. Chew on the opposite side and brush gently around its edges. These steps help keep it in place and protect the prepared tooth until your next appointment.
Recognise possible temporary-crown problems. A temporary crown can come loose or dislodge before the permanent crown is ready. Mild soreness or slight sensitivity when biting may occur during the first 24-48 hours after treatment. A change in how the teeth meet or a crown that no longer feels secure is worth raising with the dentist.
Keep the two-visit sequence in mind. The first visit includes tooth preparation and placement of the temporary crown. The permanent crown is fitted at a later appointment once it is ready. Traditional crown treatment commonly spaces appointments 2-3 weeks apart, while a laboratory-made crown takes 1-2 weeks to fabricate.
Distinguish a temporary crown from the final restoration. The temporary crown protects the tooth while the permanent crown is being made; it is not the final restoration. At the fitting appointment, the dentist removes it and checks the permanent crown’s fit, shape, bite and colour before cementing it. This assessment helps ensure the crown sits comfortably beside neighbouring teeth.
Crown material options
Discuss the tooth’s position, appearance and function with your dentist before choosing a crown material. These factors help guide a custom restoration suited to the tooth and the teeth around it.
Compare the main material choices. Crowns can be made from gold, metal alloy, porcelain, composite resin or ceramic. Each material has different properties and appearance. Your dentist considers the crown’s position, how it will function when you eat, and how closely its colour should match nearby teeth. A crown following root canal treatment may also need to protect a weakened tooth.
Consider porcelain for a visible tooth. Porcelain crowns are usually used near the front of the mouth because their appearance can resemble a natural tooth. All-porcelain and ceramic crowns average 10-15 years of use. With good oral care, porcelain crowns can last 15 or more years. Their colour can help the crown blend with surrounding teeth.
Ask whether zirconia suits the tooth’s position. Zirconia is a strong, white ceramic that can be made thinly, allowing more natural tooth structure to be saved. It is mostly used for back teeth, where chewing places demands on the restoration. Zirconia crowns have an expected lifespan of 15 or more years.
Weigh metal options against appearance. Metal-alloy crowns resist wear and tear, rarely chip, and require only minimal natural tooth removal. Gold crowns often last more than 20 years. These materials can be practical for a back tooth, while their metallic appearance may not suit a visible tooth.
Compare porcelain-fused-to-metal crowns. This option combines a metal base with a porcelain outer layer. Porcelain-fused-to-metal crowns typically last 10-15 years. The material offers a tooth-coloured surface, while the metal provides an underlying structure. Your dentist can explain how this balance fits the tooth being restored.
Ask how the material affects preparation and care. Material choice can influence how much tooth structure is removed and the crown’s appearance. For example, thin zirconia may preserve more natural structure, while metal alloys need minimal removal. Dental crowns typically last 10-15 years or longer with proper care, though individual materials and daily oral hygiene matter.
Choose based on the whole treatment plan. Ask your dentist how each material suits the tooth’s position, bite and appearance. A tooth near the front may call for a tooth-coloured option, while a back tooth may need a material chosen for strength. The decision balances these considerations with the tooth’s condition and the restoration’s intended function.
Aftercare and oral hygiene
Aftercare helps keep the gumline clean and the crown comfortable. Use these steps to protect the restoration, notice changes and maintain its appearance.
Choose softer foods for the first couple of days. Avoid hard or chewy foods after the procedure, especially if your mouth feels tender. Softer foods put less pressure on the crown while you adjust to it. When eating feels comfortable, return to your usual foods gradually and avoid biting hard items directly with the new crown.
Brush carefully around the crown each day. Clean the crown and the gumline beside it without scrubbing roughly. Plaque can collect where the crown meets the tooth, so include that edge in your regular brushing routine. Rinse with salt water after brushing if your dentist recommends it as part of your aftercare.
Keep temporary-crown care gentle. If you’re still wearing a temporary crown, brush carefully around its edges. Avoid sticky, hard or chewy foods that could pull it loose, and chew on the opposite side. These precautions protect the prepared tooth until the permanent crown is fitted.
Allow time for mild sensitivity to settle. Slight soreness or sensitivity when biting may occur during the first 24-48 hours after treatment. An unusual feeling around the crown can take two or three days to settle. If discomfort persists, your bite feels uneven, or the crown becomes loose, contact your dentist for an assessment.
Notice how the crown meets your other teeth. A comfortable bite matters for everyday activities such as chewing and speaking. If one spot feels high when you close your teeth, or pressure consistently falls on the crown, tell your dentist. An adjustment can address uneven contact and help the crown feel more natural.
Keep up with regular dental reviews. Your dentist can check the crown during regular dental check-ups and cleanings. These visits provide an opportunity to assess the crown, surrounding gum tissue and your oral hygiene. The dentist can also monitor a porcelain crown’s appearance and identify a damaged or loose crown that needs attention.
Plan support for ongoing oral hygiene. Professional dental hygiene can help maintain clean teeth and gums around a crown. Arrange professional dental hygiene as part of your continuing care, alongside the crown checks included in regular dental visits.
Most people can return to school or work after crown treatment, and taking time off isn’t necessary. If you’ve had sedation, arrange a driver to take you home after the procedure.
Dental Plus: Crowns & Veneers
Dental Plus provides Crowns & Veneers for teeth that need protection or restoration. If a tooth is cracked, weakened or has had root canal treatment, a dentist can assess it and discuss whether a crown may help restore its shape and function. Digital X-rays can support assessment, and Routine Check Ups help monitor your oral health and existing dental work.
Discuss the tooth’s condition, appearance and treatment needs with a dentist at Dental Plus in Tauranga. After examining the tooth, the dentist can explain preparation, material options and fitting, then provide a treatment plan and cost estimate. You must consent before significant work begins. Professional Dental Hygiene can support ongoing care around the crown.
For guidance on crown treatment, contact Dental Plus.
Take the next step with confidence
Understanding the dental crown procedure step by step can help you feel prepared to discuss what matters most for your tooth. Before treatment, consider how it affects your everyday life, such as chewing comfortably or feeling confident about your smile. Sharing these priorities helps your dentist explain how the treatment plan relates to your needs.
Mention any concerns about dental visits, sensitivity or caring for a restoration. A clear conversation can help you understand what to expect and what support is available during treatment. If you already have a crown and something feels different, describe the change and when you noticed it.
Dental care is personal, and your questions deserve thoughtful answers. Contact Dental Plus about your crown to discuss your next step. A considered conversation can help you move towards treatment feeling informed and comfortable.
Frequently Asked Questions
What happens if my crown falls off?
Keep the crown and contact your dentist promptly for advice and assessment. Avoid chewing on that side, and don’t try to reattach it with household glue, which isn’t intended for dental use. If the exposed tooth feels sensitive, avoid foods or drinks that trigger discomfort. Take the crown to your appointment so the dentist can assess it and the tooth beneath it before deciding what to do next.
How Long Does a Crown Last?
A crown’s lifespan depends partly on its material and how well it’s cared for. Gold crowns often last more than 20 years; porcelain-fused-to-metal, ceramic and all-porcelain crowns typically average 10-15 years. Zirconia crowns have an expected lifespan of 15 or more years. These are general expectations, not a personal forecast. Regular brushing, cleaning between teeth and dental reviews help your dentist monitor wear or damage.
What are tooth crowns made from?
Crowns can be made from gold, metal alloy, porcelain, ceramic, zirconia or composite resin. Porcelain, for example, can provide a tooth-coloured appearance, while metal alloys resist wear and rarely chip. Zirconia is a strong white ceramic. The right material depends on the tooth’s position, your bite, appearance preferences and how much natural tooth remains. Discuss these factors with your dentist before choosing.
What are the steps in a dental crown procedure?
A dental crown procedure step by step usually involves assessing and numbing the tooth, removing damaged areas and shaping it for a crown. The dentist then records the tooth’s shape and may place a temporary crown while the permanent one is made. At a later appointment, the dentist removes the temporary crown, checks the permanent crown’s fit and bite, and cements it in place.
How is a tooth prepared for a dental crown?
The dentist numbs the area, removes decay or weakened tooth structure, then shapes the remaining tooth so a crown can fit over it. If too little structure remains to support the restoration, filling material may rebuild its shape. The dentist also checks for underlying problems that need treatment first. For example, severe decay or infection may mean root canal treatment is needed before crown placement.
Does getting a dental crown hurt, and what anaesthetic is used?
Local anaesthesia numbs the tooth and surrounding area before preparation, reducing sensation while the dentist removes damaged structure and shapes the tooth. Tell the dentist if you feel discomfort during treatment so they can respond. Mild soreness or slight sensitivity when biting can occur after treatment. Your experience depends on the tooth’s condition and the treatment needed.
How are dental impressions or digital scans taken for a crown?
A dental impression records the prepared tooth’s shape and its relationship to nearby teeth, helping guide the crown’s design. If the dentist uses a digital scan, a handheld scanner records the tooth’s contours electronically instead of using impression material. Either way, the dentist needs a clear record of the prepared tooth and bite. This information helps create a crown designed to fit and meet opposing teeth properly.
What happens while waiting for a permanent crown, and how long does it take?
A temporary crown covers the prepared tooth while the permanent crown is made. During this period, avoid sticky, hard or chewy foods, brush gently around the temporary crown and chew on the opposite side. A laboratory-made permanent crown takes 1-2 weeks to fabricate, and traditional appointments are commonly spaced 2-3 weeks apart. The timing depends on the crown being made and the appointment plan.
This information is general and doesn’t replace professional dental advice. For a dental concern in Tauranga, seek an assessment from a dentist.
Comments